Digital & Social
2 weeks ago
Top 45 Best Tinder Alternatives in 2024
Tinder is a fabulously utilized Dating Application that enables customers to satisfy new individuals within…
Internet
2 weeks ago
What is SAP Solution Manager? What You Can Learn
SAP Solution Manager SolMan is the module of SAP that provides performances like integrated content,…
Business
2 weeks ago
Top 5 Best WooCommerce Alternatives In 2024
This article is about WooCommerce Alternatives. If you ask any WordPress expert what the best…
Tech
2 weeks ago
Best Settings For PPSSPP On Android (100% Working)
In this article, we will explain about best setting for ppsspp gold for all games,…
Entertainment
2 weeks ago
Top 15 Games Like Webkinz in 2024
Games like webkinz is an Animal-based, Virtual World, Fantasy, as well as Browser-based Simulation established…
Computer
2 weeks ago
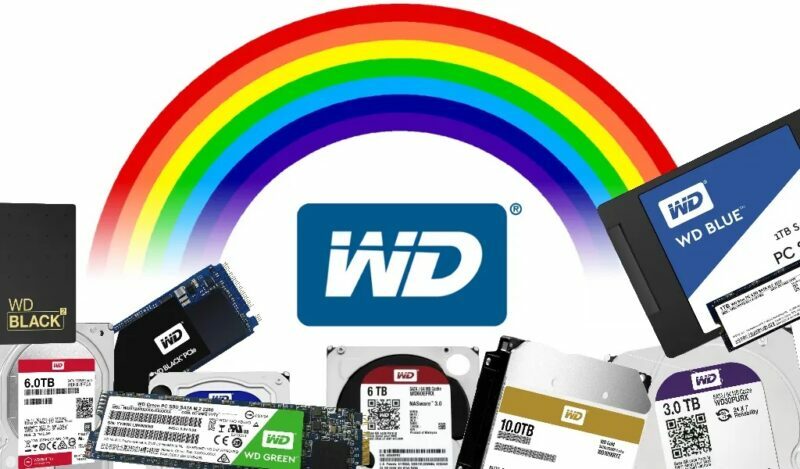
Wd Blue vs Black HDD & SSD Differences
This articles will show details regarding wd blue vs black. Reviewing a write-up from GN…
Mac
2 weeks ago
Top 10 Best vMix Alternatives for Windows and Mac In 2024
This post will explain vmix for mac. Are you wanting to make your discussions distinctive?…
Business
2 weeks ago
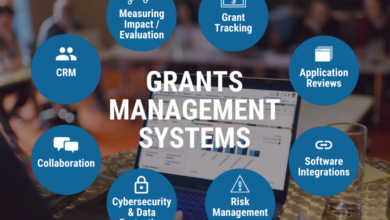
5 Benefits of Using Grant Management Software
This post will explain Grant Management Software. Running a nonprofit is among the most extreme…
How To
3 weeks ago
How To Completely Disable FaceTime On Mac
This post will explain What happens when you disable FaceTime. At the start of the…
Internet
3 weeks ago
10 Best Free Best Online Video Editors
Video editing once required high-end computers to use special software. Now, in addition to video…